Sew Ottawa! HST Week 5 [HST Sew-a-long 2018 6/18]
Hi all! Colleen has an awesome week 5 prepared for you all.
Welcome to week 5! You guys are doing so amazing and your quilts are coming together nicely! At this point we should have all have 5 blocks and we will be adding 2 more this week – almost halfway there if you aren’t quite caught up yet that’s ok, we will have some time at the end to get caught up.
Last week we had a wonderful prize donated from Jenna-Rae at Fabric Crush. Thank you Jenna-Rae! The winner was Christa Fine with her beautiful Purple blocks!
This week our prize is a box of Shout Colour Catchers and two FriXion pens – perfect for all the HSTs we are doing!!
This week we are going to talk about lining up points and keeping seams lined up. It has been brought up a lot on the weekly threads so I thought we could go over a few tips.
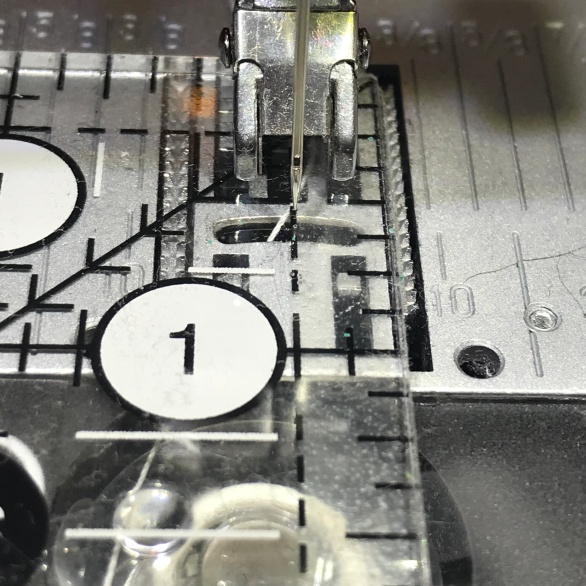
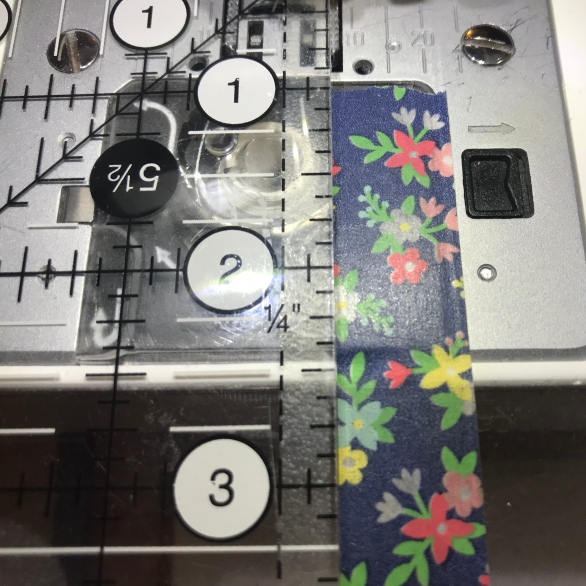
- Cutting and Sewing. Make sure you are starting with your 3.5″ blocks and they are not misshaped or the wrong size, a 1/16th of an inch can make a big difference in the final product! Check your seams and make sure your seam allowance is correct. You will need your seam allowance to be 1/4″, if you don’t have a 1/4″ foot for your machine then use your ruler and measure as pictured, then use tape to give you a guide when sewing.
- Pressing. It’s a game changer, I promise. It will keep everything crisp and sharp and help you get the end look you really want. Take a look at Tania’s awesome tutorial last week on the fine art of pressing.
- Squaring up. If everything is squared up properly it is going to reduce the chances of your seams not lining up properly. If you have a ruler with the 90 degree angle line it is going to make everything go a lot smoother. You want to make sure that the center seam of your HST lines up with that line. If it is off your points are going to be off. When you are squaring up make sure you use that line as your guide and trim from there. I am going to do another blog post dedicated to squaring up – stay tuned later in the week for that but for now – here is what I am talking about:
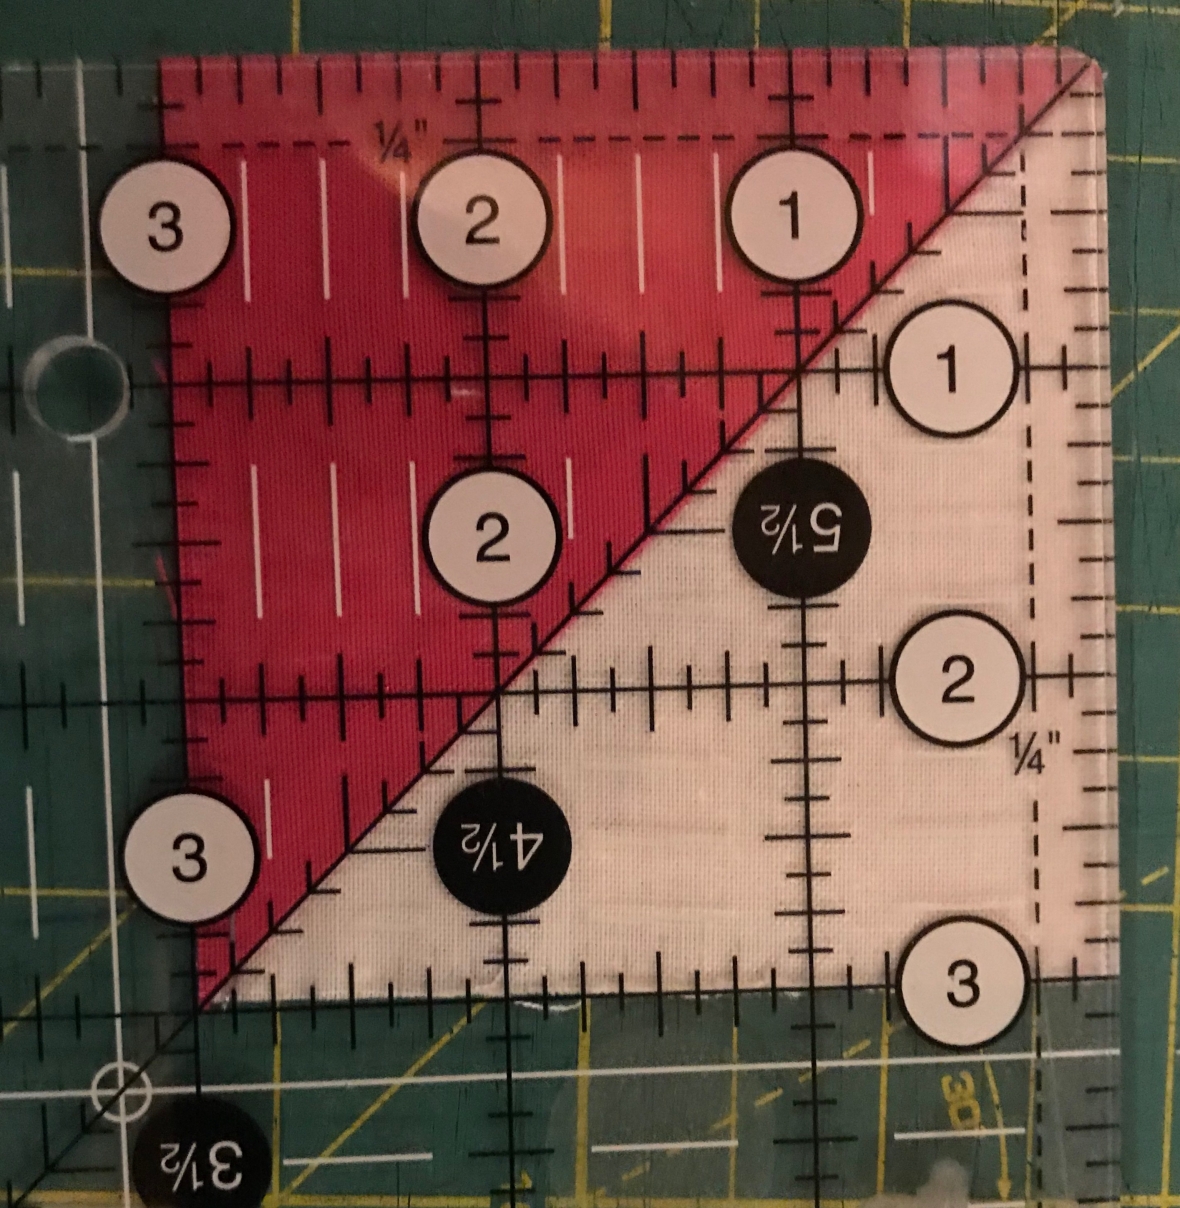
- Pinning. So so so much pinning! I like to pin immediately before and immediately after a seam but when necessary I go ahead and put the pin right through the two seams, it isn’t going to harm anything and will pretty much guarantee that you are going to get the outcome you desire.
- Have FUN! Quilting is meant to be fun (at least in my opinion) and sometimes no matter what you do there might be an off seam, it’s going to be OK. Once your quilt is quilted and the binding done you’ll never think of (or notice) that seam again. Take a deep breath and enjoy the process.
Now, lets talk about blocks! I have two pretties for you guys this week. The first, in honour of upcoming Valentine’s Day, I have this beautiful heart! You are going to need 8 3” HST blocks and 8 plain 3″ blocks. 2 of those plain blocks need to be your solid (in this case the white).
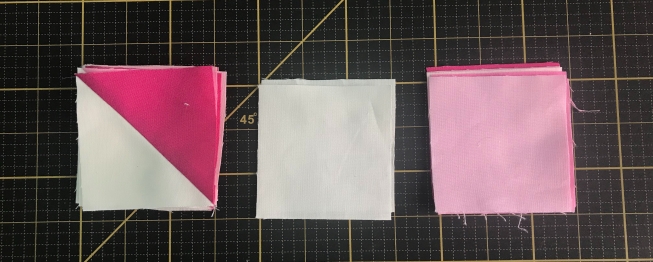
There are 8 HSTs, 2 white(contrast) and 6 solid.
Lay them out like so:
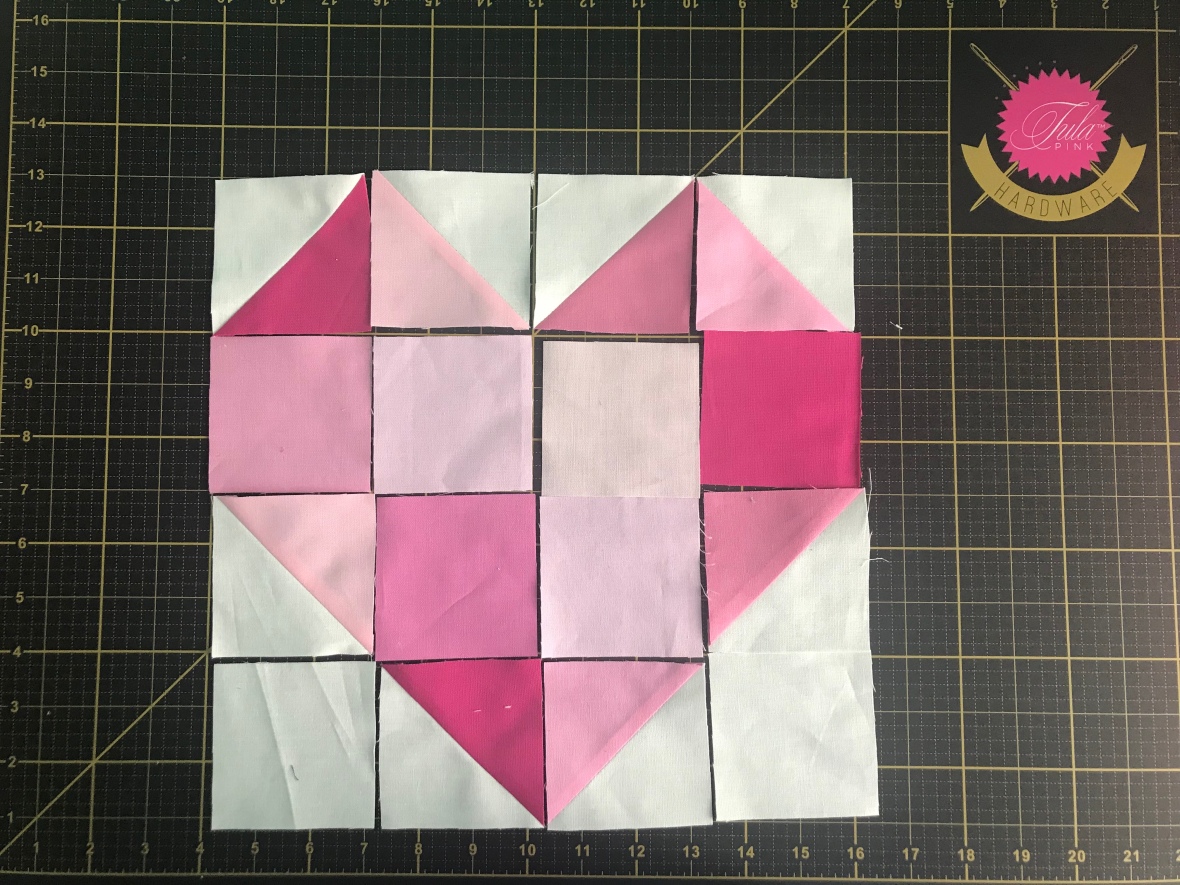
Sew them altogether, I find for this one it comes together nicely doing each row and pressing your seams open. It makes for a nice clean finish. I’m actually going to show you my flawed block this week, I struggled with the bottom right corner of this block and I also got a little over zealous with the steam on my iron so there is some seam rippling, I’m just going to call it practice and do a new block!
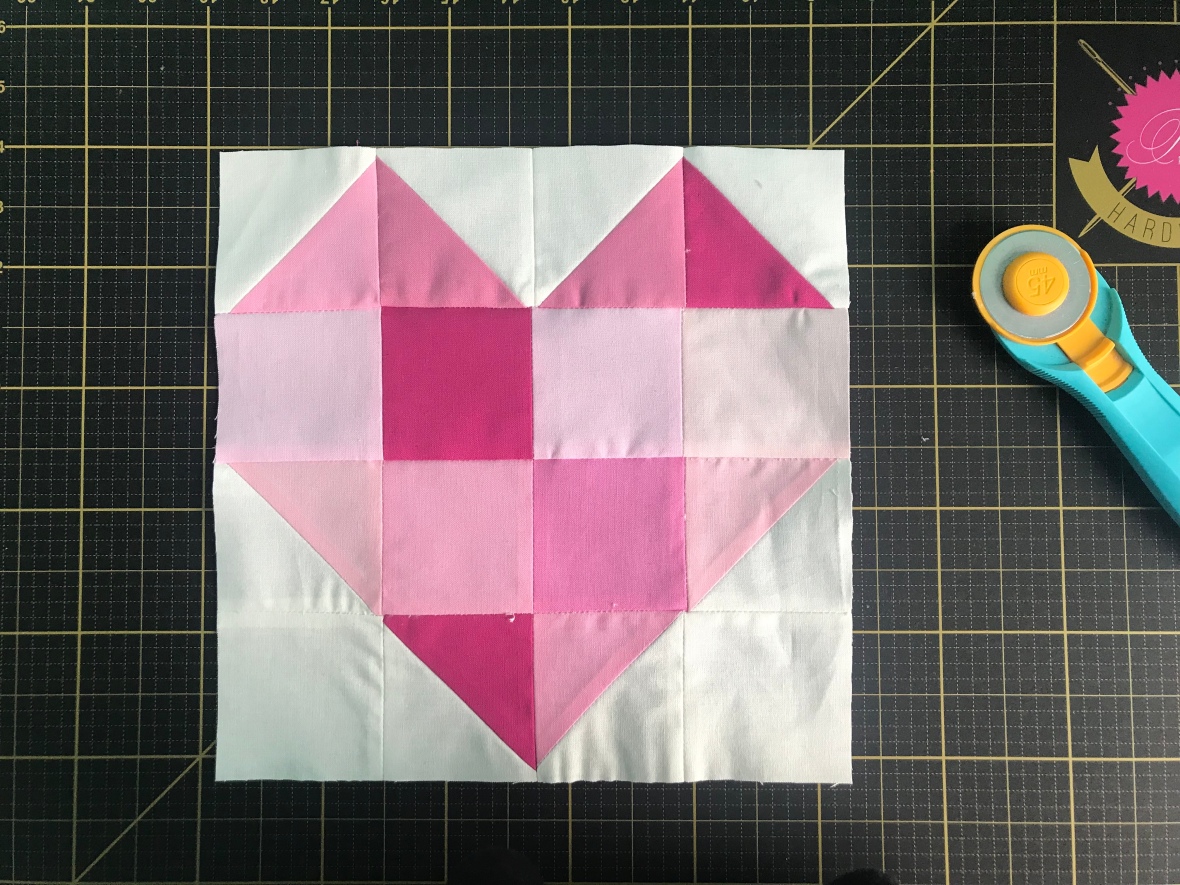
Our next block is a traditional HST block, it is a take on a Civil War Era block called Port and Starboard. It is a really pretty block and one of my favourites. You will need 16 HST squares for this block. Lay it out like so:
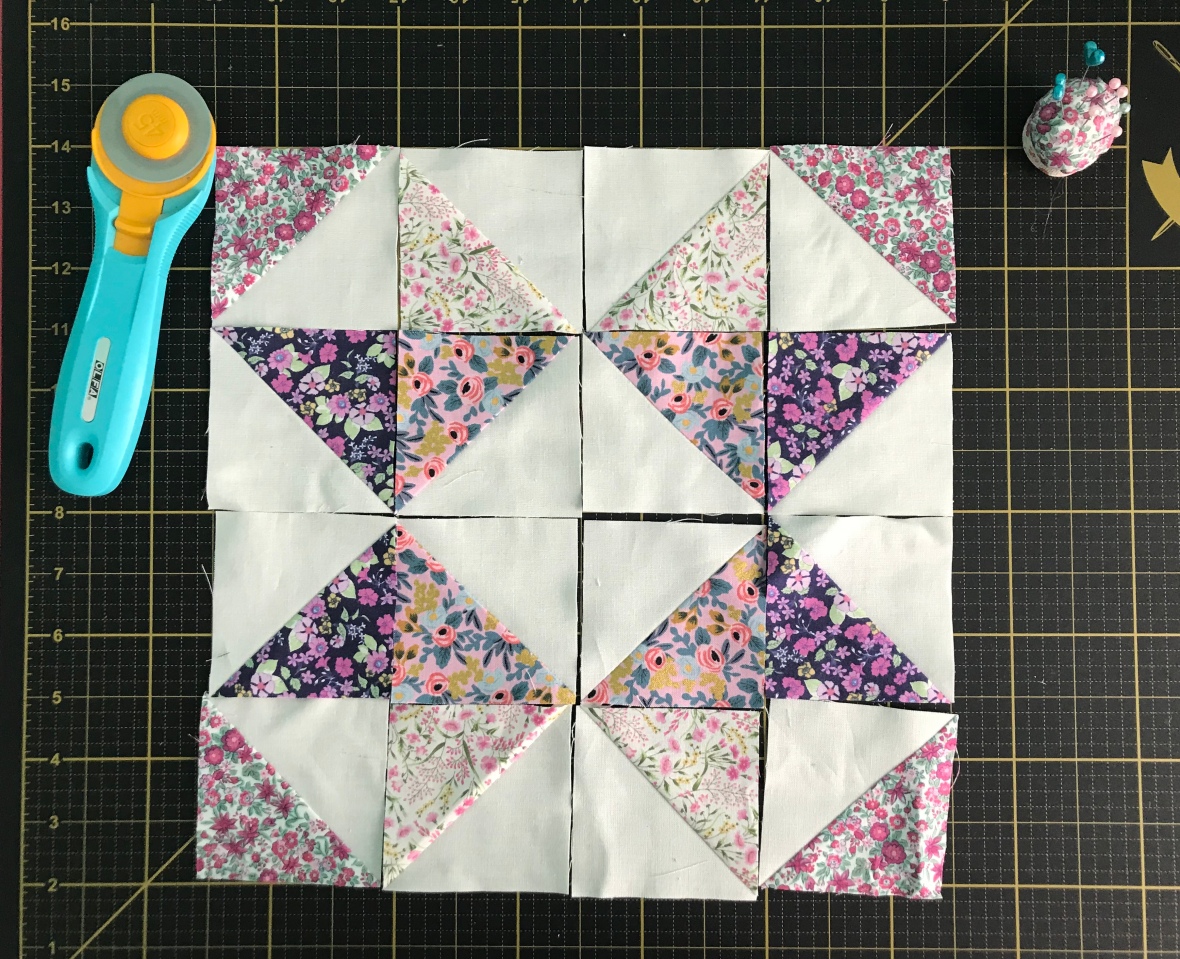
This one can be a little tricky in some of the corners where there are 4 points coming together. Lots of pressing and pinning (and stitch ripping if you’re like me ha ha ha) should help with getting all those points lined up.
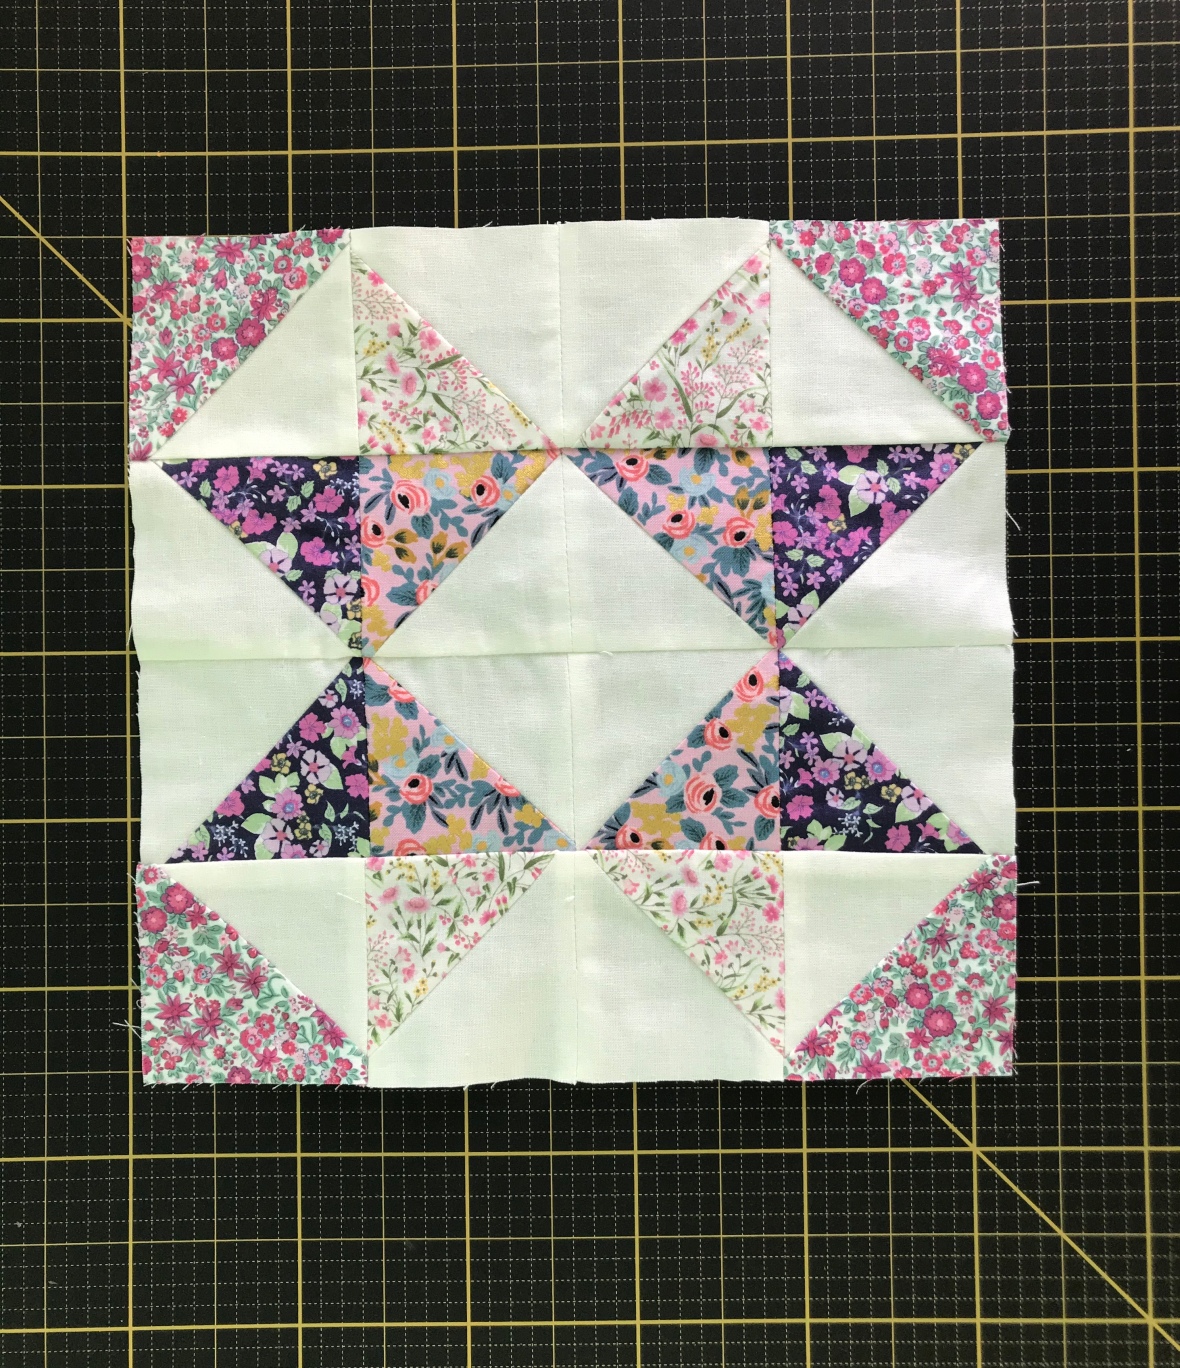
I hope I answered some of your questions this week! Stay tuned for a squaring up blog post soon!
I look forward to seeing all the pretties you create this week,
Much Love,
C


Comments
Post a Comment