Sew Ottawa! HST Week 7&8 [HST Sew-a-long 2018 8/18 and 9/18]
See below for more from Colleen in Weeks 7 & 8
Sew Ottawa! Sew-a-Long Week 8
Welcome to Week 8 of the quilt-a-long!
Thank you all for sharing your beautiful blocks with us last week! You guys are doing amazing! Are you finding it’s getting easier to get your points lined up? It’s all starting to come together!
Last week our prize was a Moda Charm Pack and Mini Charm Pack. Our winner was Erica Prince! Congratulations Erica!
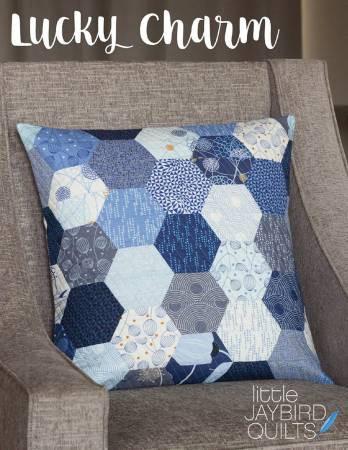
This week our prize is this cute little hexi pillow cushion cover pattern (pattern only) from Tania.
Tania and I are working on the Mug Rug Tutorial – we are going to tie it into the blog post about binding your quilt – you can’t make a mug rug until you know how to bind a quilt! Lots of fun stuff coming up for you all!
Have you thought at all about the back of your quilt? What are you going to put on the back of this pretty that you have spent 3 months working on? There are a lot of options!
I am a sheet junkie, as in, I see a pretty sheet set that I think would look pretty on the back of a quilt and I buy it and stash it for the perfect quilt. Its economical – you can usually get at least 2 quilts out of one sheet set depending on how big your quilts are/how big the sheets are that you bought, and they are usually good quality meant for lots of washes. Keep an eye on the thread count and the quality of the fabric though, you want to make sure it is a quality sheet. I bought a few of the fleece sheet sets from Costco this winter and used them as well, the quilts are so soft and smooshy and amazing! Something to keep in mind with fleece though is that it is really stretchy so you’ll need lots of basting and possibly pinning. I got Sharyn at Huntley Studios to do my last one though and there was minimal stretching on the long arm machine.
Second hand stores – I have been known to snatch up super cool/funky antique sheets from the second hand store. This is also a lovely, economical option but you do have to look over the sheet thoroughly. Make sure there are no threadbare spots or weak spots in the sheet. The last thing you want is to put all this hard work into your quilt only to have the back tear or come apart after a few washes/rough play with your kids.
Fleece and Flannel – If you are going to to go this route it is a fabulous option but make sure you stick to fleece from quilt shops (or higher quality sheets). The lower end stuff tends to be stretchier and will distort more when quilting. It also won’t give you the longevity you are looking for. Years ago I made a rag quilt for my husband, I used a mixture of cheapie and quilt store quality flannel. Within 4-5 washes the cheapie stuff was so washed out looking and lost its softness. 7 years later and that quilt store fleece still looks beautiful and vibrant and still so so soft.
Minky/Fireside/Cuddly – Same as above, please buy from a reputable quilting shop/fabric store. Dont cheap out on this stuff. Its amazing on a quilt back and makes for some awesome snuggles! The cheap stuff tends to be stretchier and will distort like crazy – don’t waste your money on it! Fireside is denser and has less stretch, it’s a great option and so soft.
Quilt Stores – I know a lot quilters who only use quilting cotton (or linen etc) from the quilt store for the back of their quilts. This is a wonderful option, you are guaranteed to get coordinating fabric to match the top of your quilt (yah know, if you’re into that sort of thing), it’s excellent quality quilting cotton, there is little to no stretch and its always super pretty. It is usually a pricier option though – a twin quilt can use 5&1/2 meters of fabric for the backing!
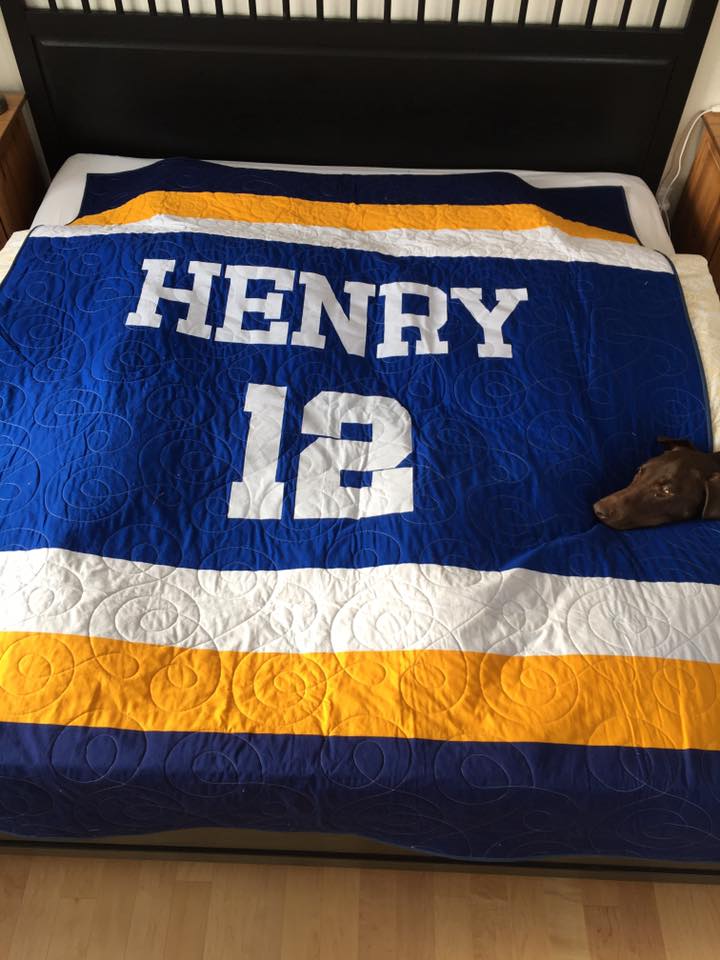
Piecing – sometimes I use multiple pieces of fabric for the back of my quilt, usually to use up larger scraps I have. Sometimes you might want to make your quilt back another part of your quilt. This backing that Monica from Mad About Patchwork made is like the back of a hockey Jersey to go with the ice rink on the front. The sky is the limit really when it comes to piecing on the back!
When it comes to the back of your quilt it is all up to you. These are just a couple of my favourite options. Just make sure that whatever fabric you are using is of good quality and will stand the test time.
Now, on to the blocks! We are back up to two blocks this week and will continue with two blocks until the end now.
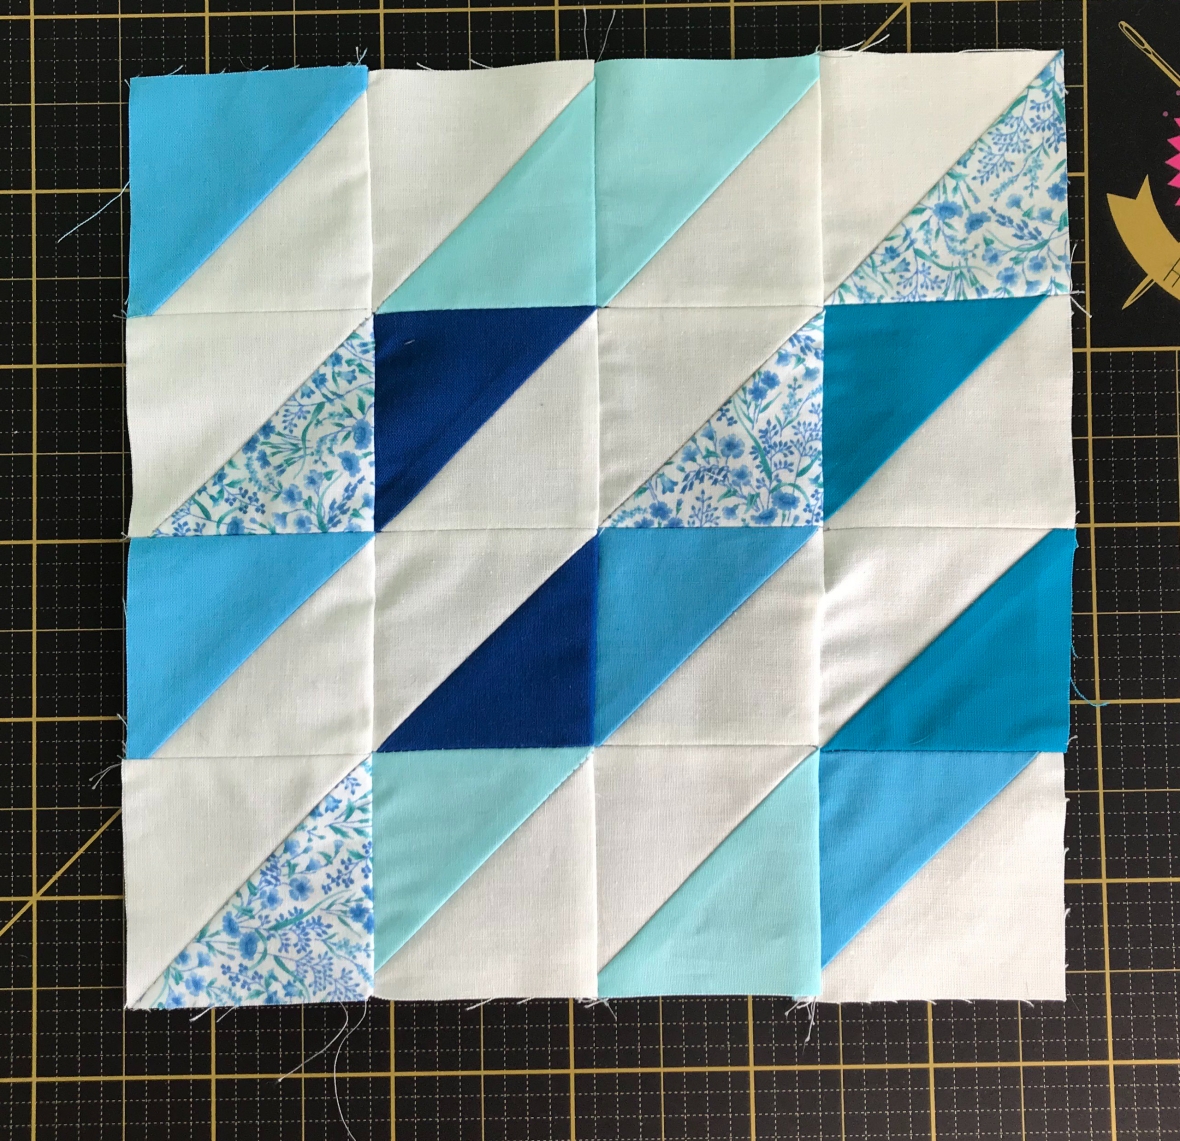
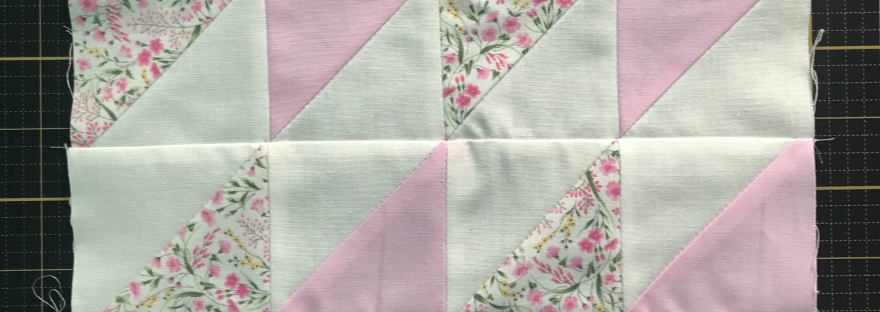
I love this stripy block, it’s just so sweet and the options with it are endless.
Edited to change the second block! I actually did the same block twice – no more late night blogging for this girl!
Here is the new block, I will give you two variations of it and you can choose the one you like best – same block you can just choose how you want the centre of the block to look 
I will get a better photo in the morning in natural light!


I hope you like this weeks blocks! Have a wonderful week and I look forward to seeing all your pretties!
Much Love,
C
Sew Ottawa! Sew-a-Long Week 7
Week 7! How are we at week 7 already!? Block 9 is the last block of February! Wasn’t Tanias block from week 6 so gorgeous!
Have you started thinking about actually quilting your quilt yet?!? So exciting! We are going to be going live from Huntley Quilting Studio to show how Long Arm Quilting works. Once we get the date and time solidified we will let you know and you can either watch live or come to the studio and join us!
This weeks giveaway was your choice of one of two awesome #sewottawa mugs generously donated by Tania and a little rainbow mug rug to keep your desk or sewing space clean of crumbs and coffee/tea spillage. The winner was Krystal Girvan! Congratulations Krystal!!!
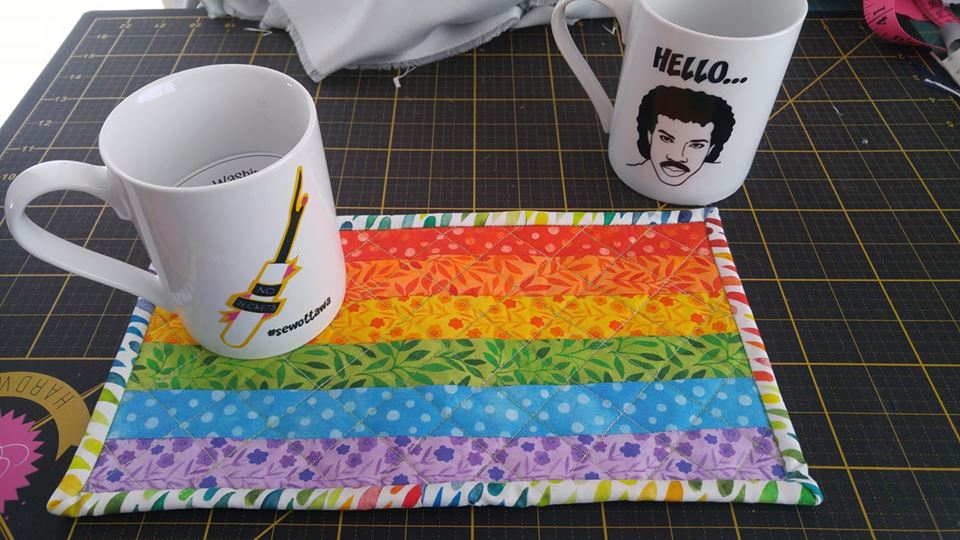 I will be doing a tutorial this weekend on mug rugs – it’s a great way to practice different quilting techniques while not investing in a huge quilt.
This week our prize is this sweet little charm/mini charm pack from Moda Bake Shop. Here is a great place to start on fun projects that include charm packs and mini charms.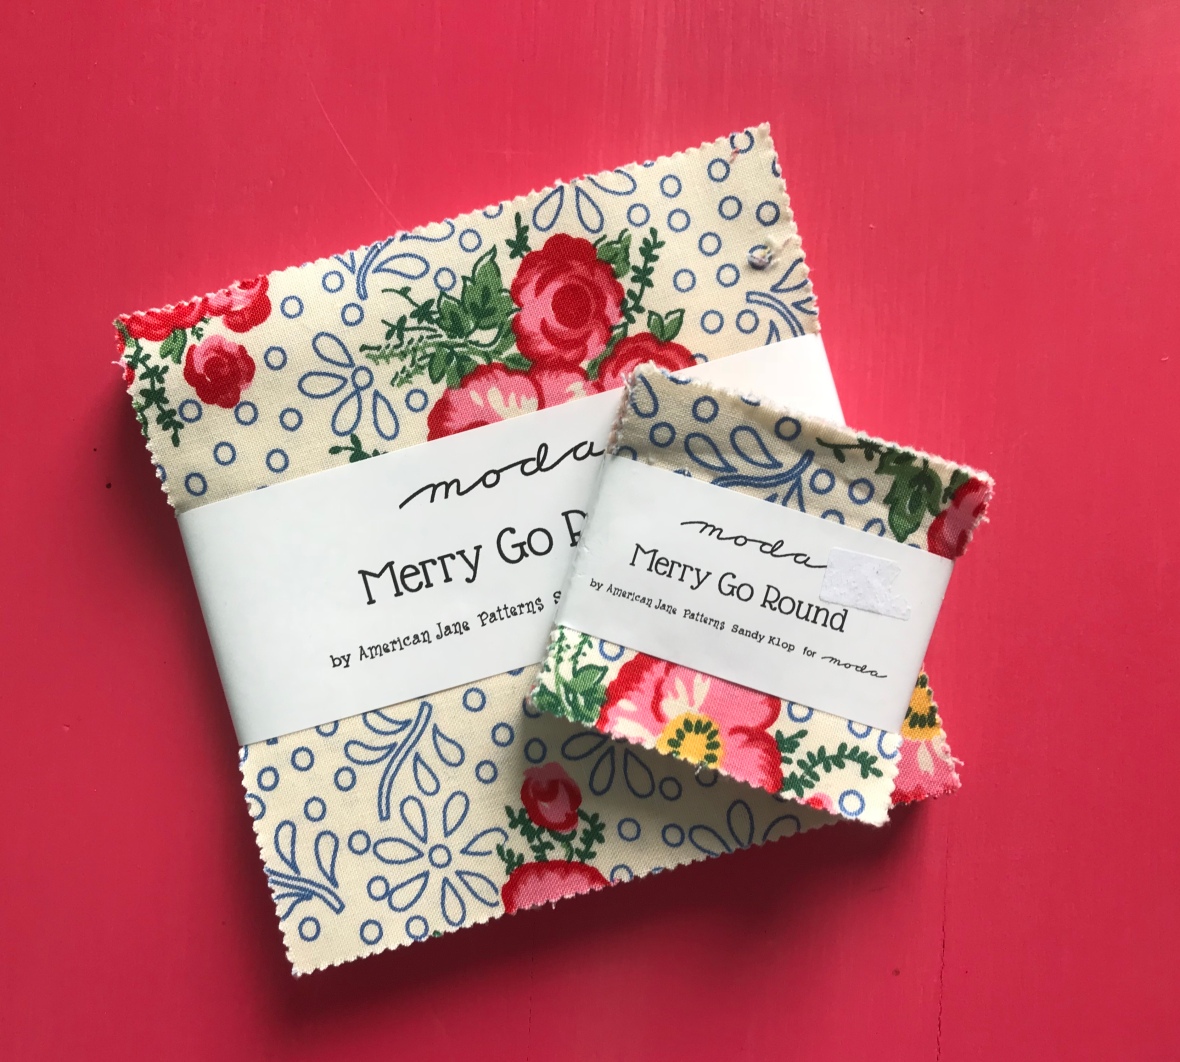
I had been working on a blog post to give you a detailed description of how to square up your blocks to make sure everything is lined up perfectly. I realized that one of my absolute favourite quilters already had an amazing tutorial and there was no way I was going to be able to top it, so if you are struggling with your points lining up or getting your blocks properly squared up then I highly recommend heading over to Diary of a Quilter and taking a look at her squaring up method.
A few of you mentioned seam ripping this week so I thought I could share my favourite little tip about seam ripping (I am a pro at it, believe me!) If you have to remove some stitches, use a seam ripper to undo every 3rd or 4th stitch on the bobbin-thread side of the patches. Then pull the top-thread side and the seam will magically unzip!
Now, onto the block! We are just doing one block this week but will be going back up to two blocks next week, we just wanted to give everyone some time to catch up.
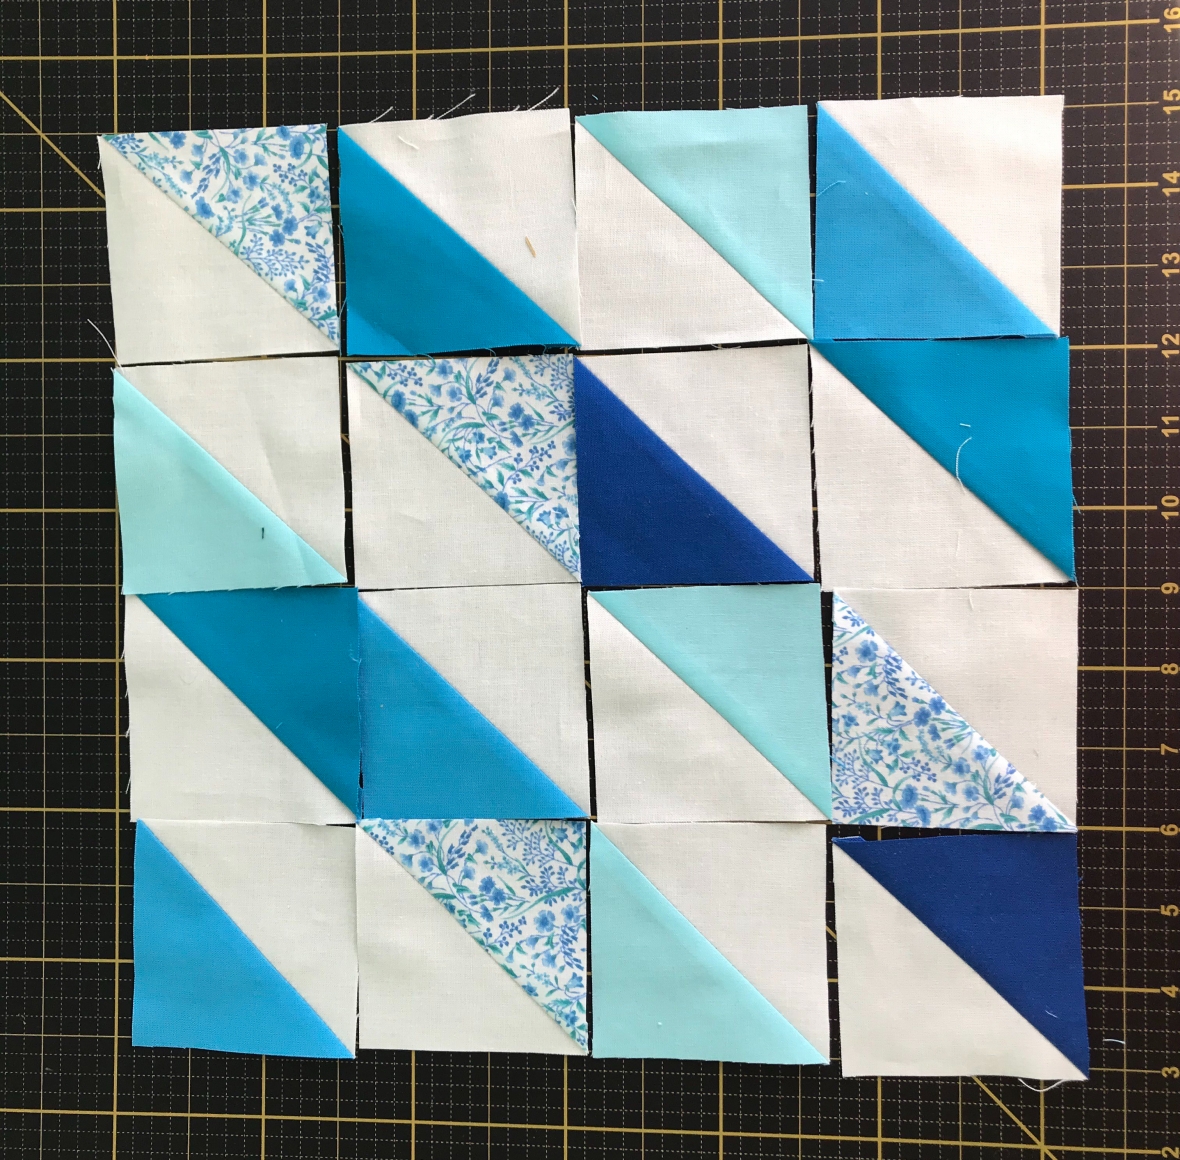
I don’t have a name for the block this week but I think she’s really pretty! Lots of point matching so you’ll get lots of practice and make sure you do lots of pressing!
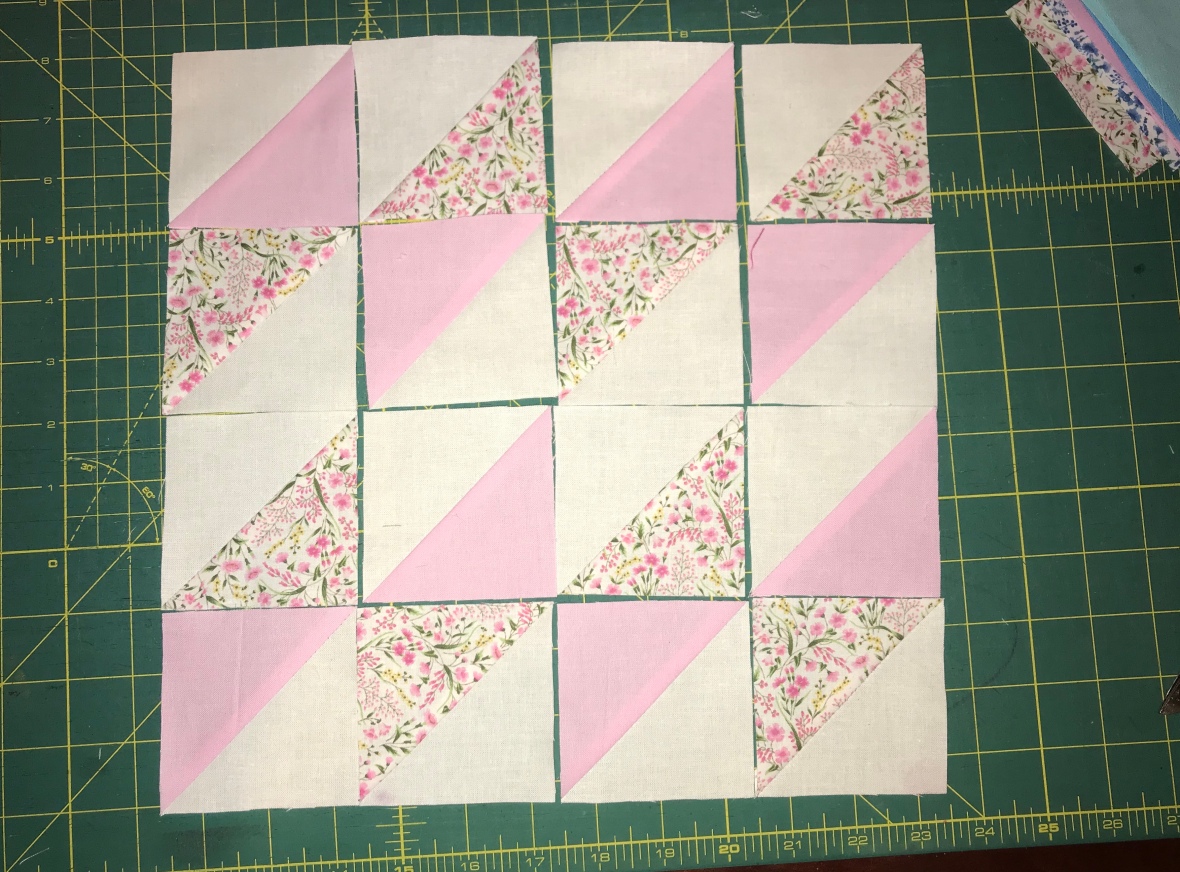
I am sorry for the wrinkled look of this block. Mr3 ran off with it so it’s looking a little disheveled for its photo! 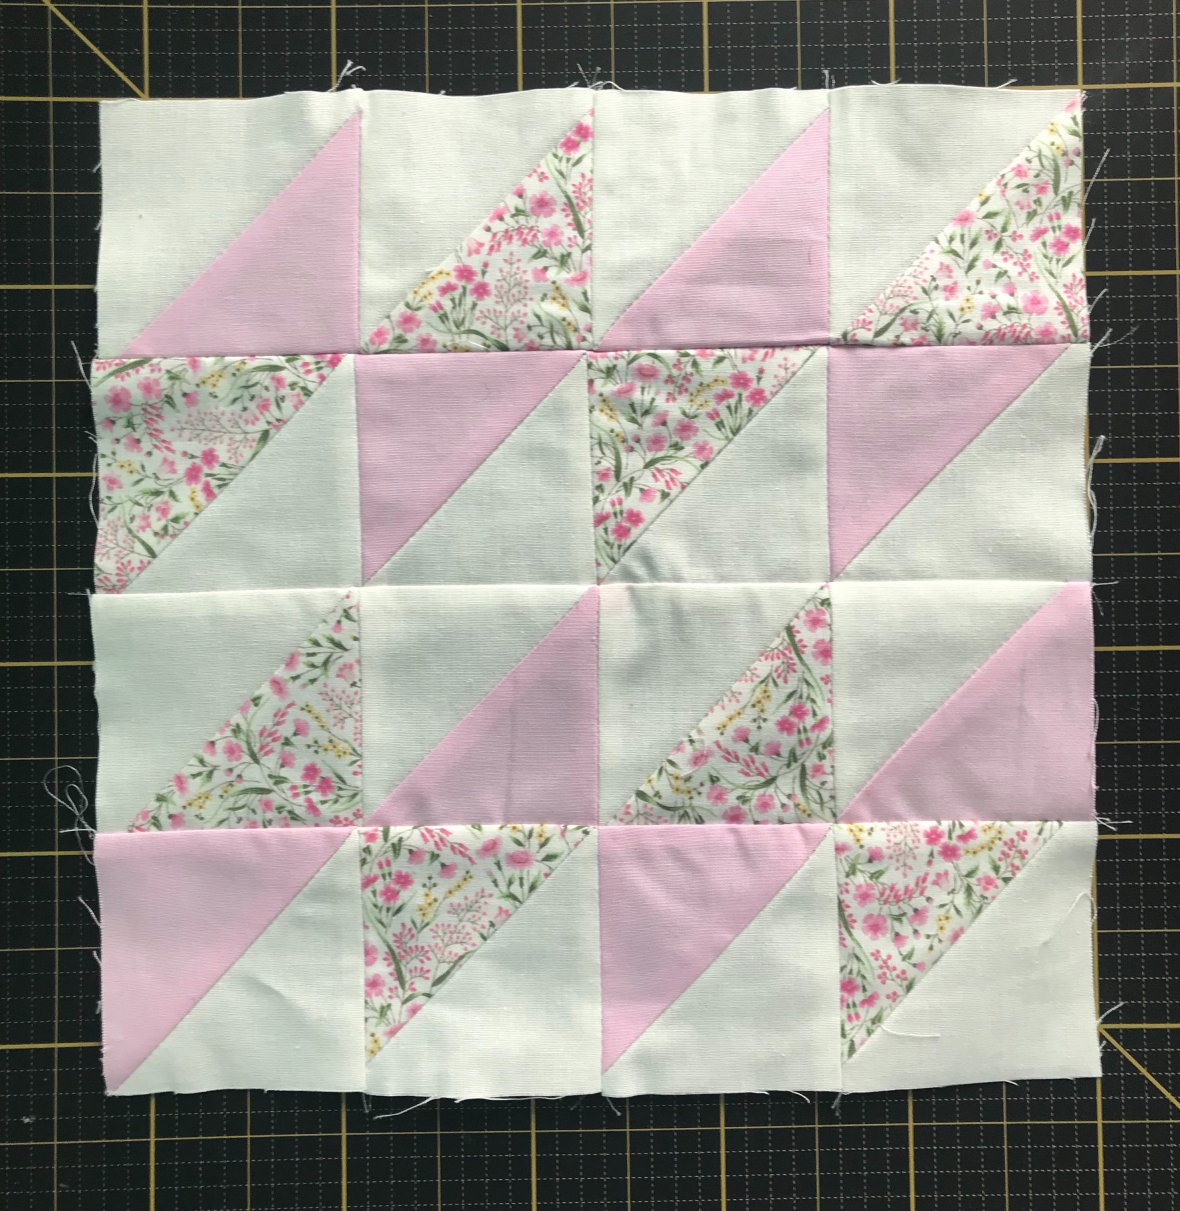
Thank you all so much for sharing all your beautiful blocks with us every week. We are having so much fun hosting this SAL and seeing all the blocks you wonderful ladies create!
Have a wonderful week!
Much love,
C


Comments
Post a Comment